The Midjourney web editor may not be a brand-new feature, but it’s one that has flown under the radar for many users—until recently. Just three days ago, the platform rolled out an update that quietly introduced a powerful editing capability within the web editor. While users have long been able to generate stunning AI images, this new addition now allows for a deeper level of customization and refinement directly within the platform. If you haven’t explored this editing feature yet, it’s worth taking a closer look.
We're releasing a new web editor today. This combines many previously separate image actions into a single unified interface. More coming soon. pic.twitter.com/09uLSeGPB6
— Midjourney (@midjourney) August 16, 2024
What is the Midjourney web editor?
The Midjourney web editor is a versatile tool within the Midjourney platform that allows users to both generate and edit AI-created images. This editor serves a dual function, enabling users to create images from prompts and then refine or modify those images directly within the same interface.
The process begins with the generation of an image based on user-provided prompts. Once an image is generated, the web editor provides users with the ability to make targeted adjustments to specific areas of the image. For example, users can alter elements such as colors, objects, or compositions by modifying the initial prompt, which then regenerates the image with the desired changes.
The Midjourney web editor is designed to support a range of creative tasks, from simple edits to more complex adjustments, all within a single, integrated platform. Its interface is straightforward, allowing users to select the areas they want to edit and update the prompt accordingly to achieve the desired outcome.
Note: To access and use the Midjourney web editor, you must first generate at least 10 images on Discord. This prerequisite ensures that you are familiar with the basic image generation process before diving into the more advanced editing features available on the site.
How to edit images on Midjourney web editor?
- To edit images on the Midjourney web editor, start by navigating to the Midjourney website at https://www.midjourney.com and log in to your account if you aren’t already signed in.
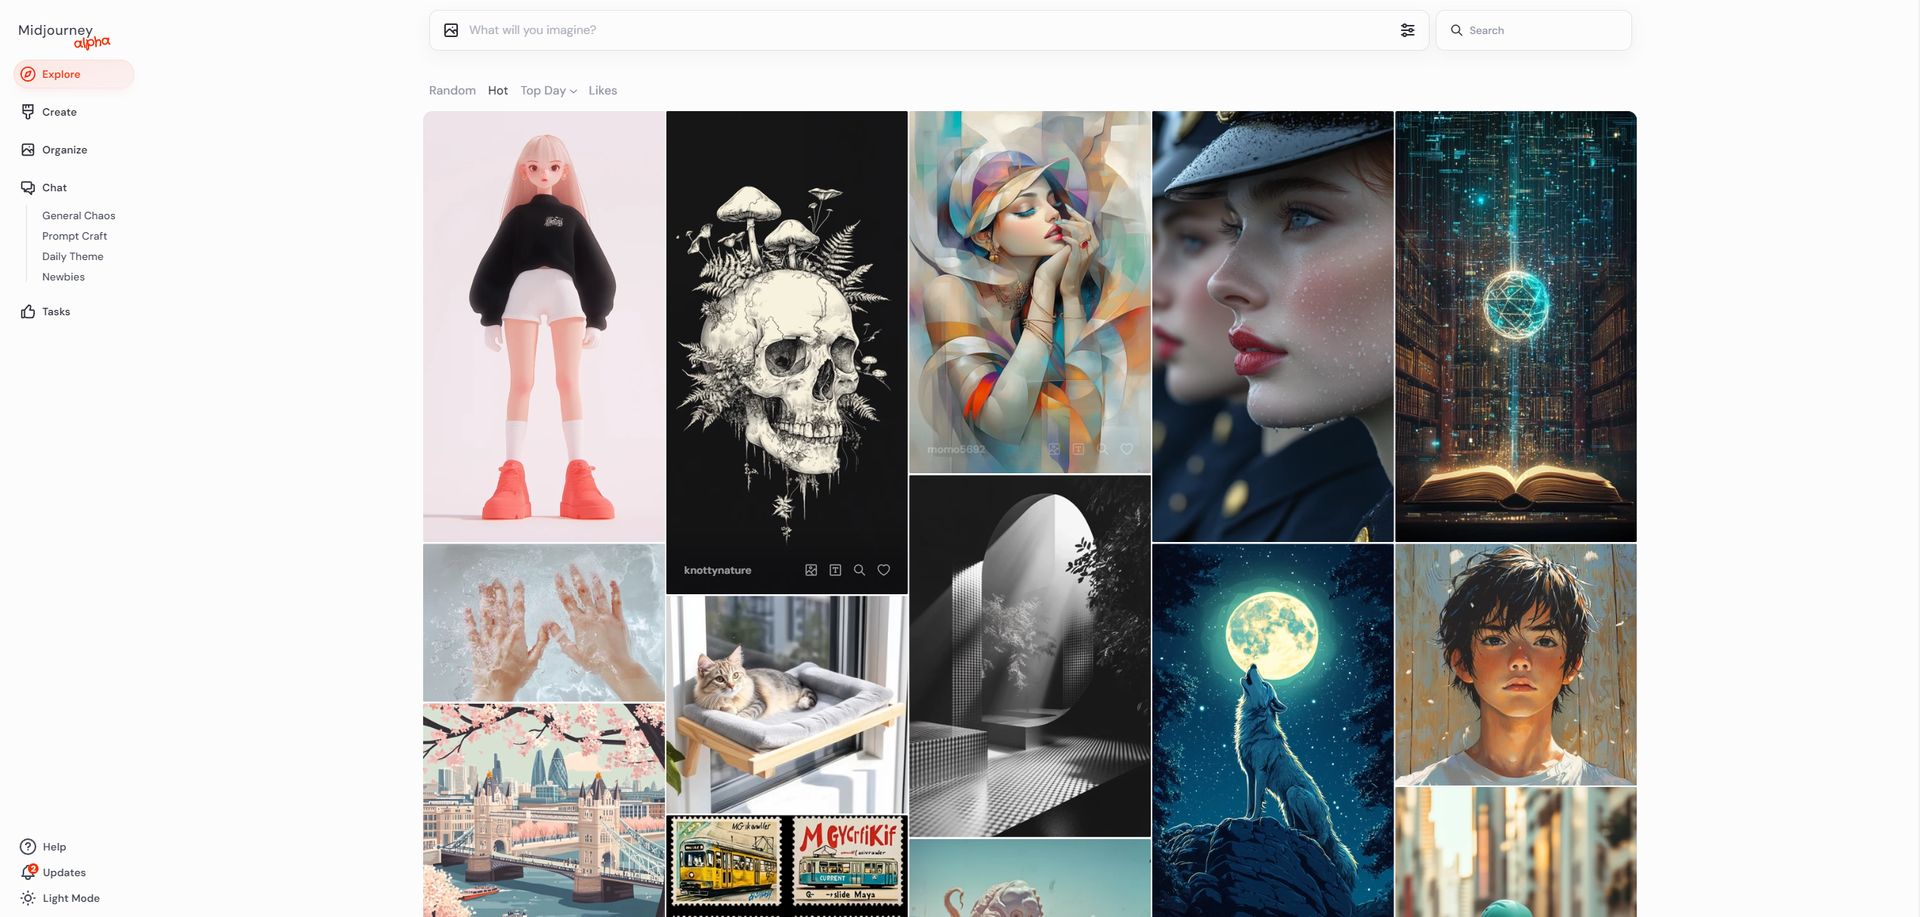
- Once logged in, locate the “Create” option on the left-hand side panel and click on it to begin the image generation process. In the prompt box that appears, input your desired prompt to generate an image; for example, you could use a prompt like: “A boy wearing a flat yellow shirt and blue shorts, playing football on the street –p –v 6.1” to generate an initial set of images.
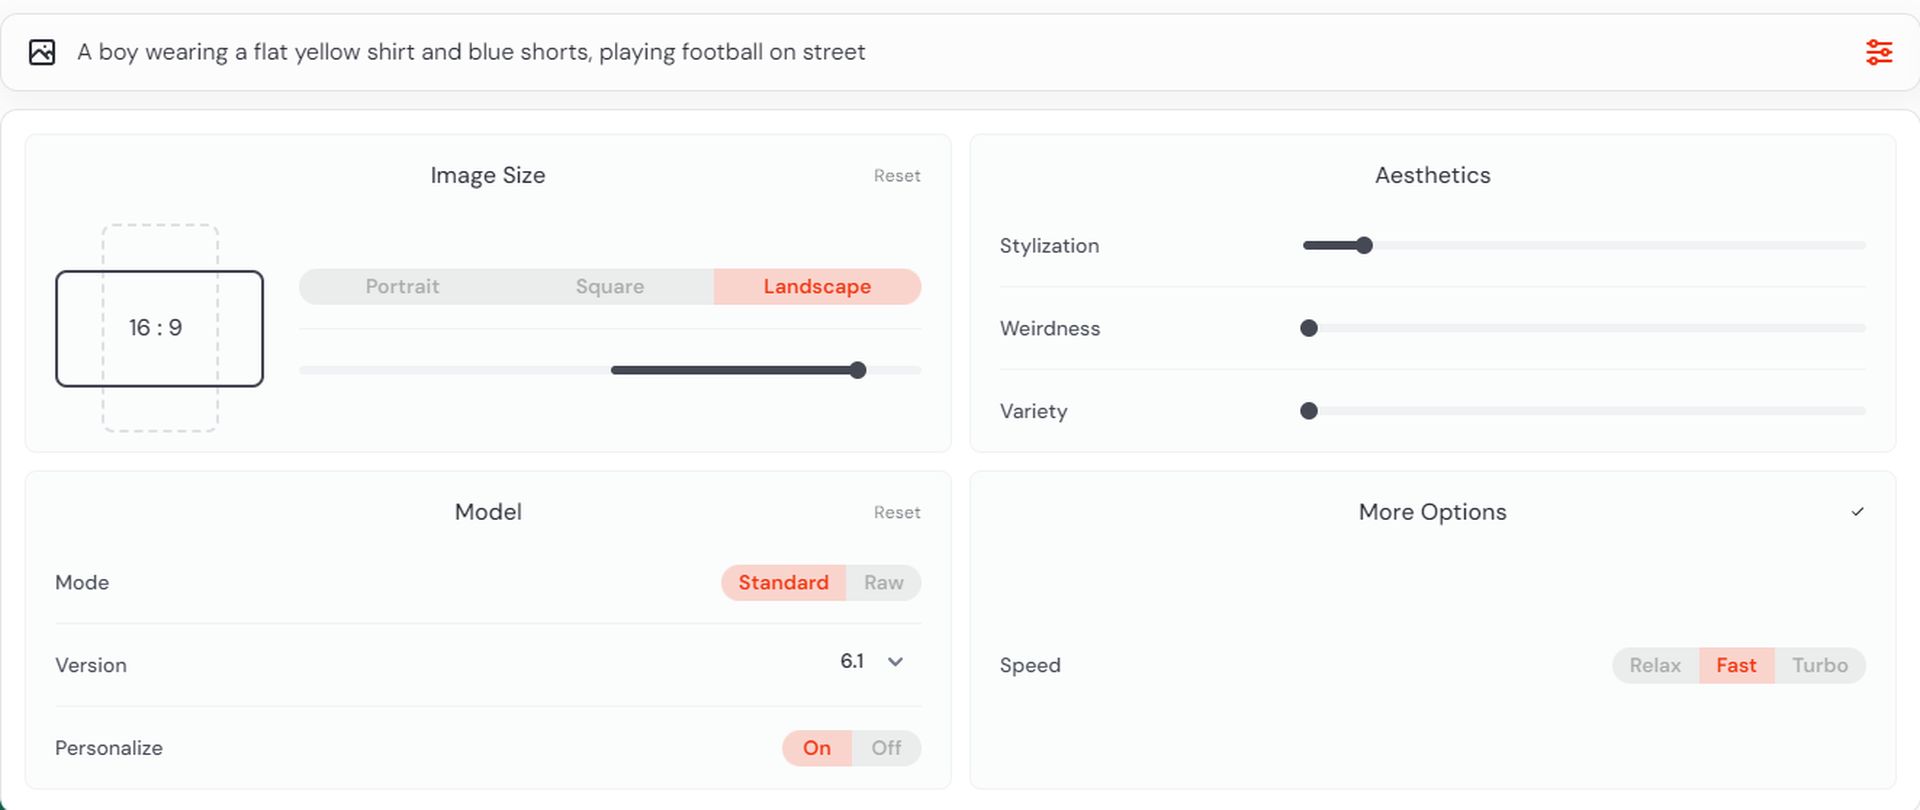
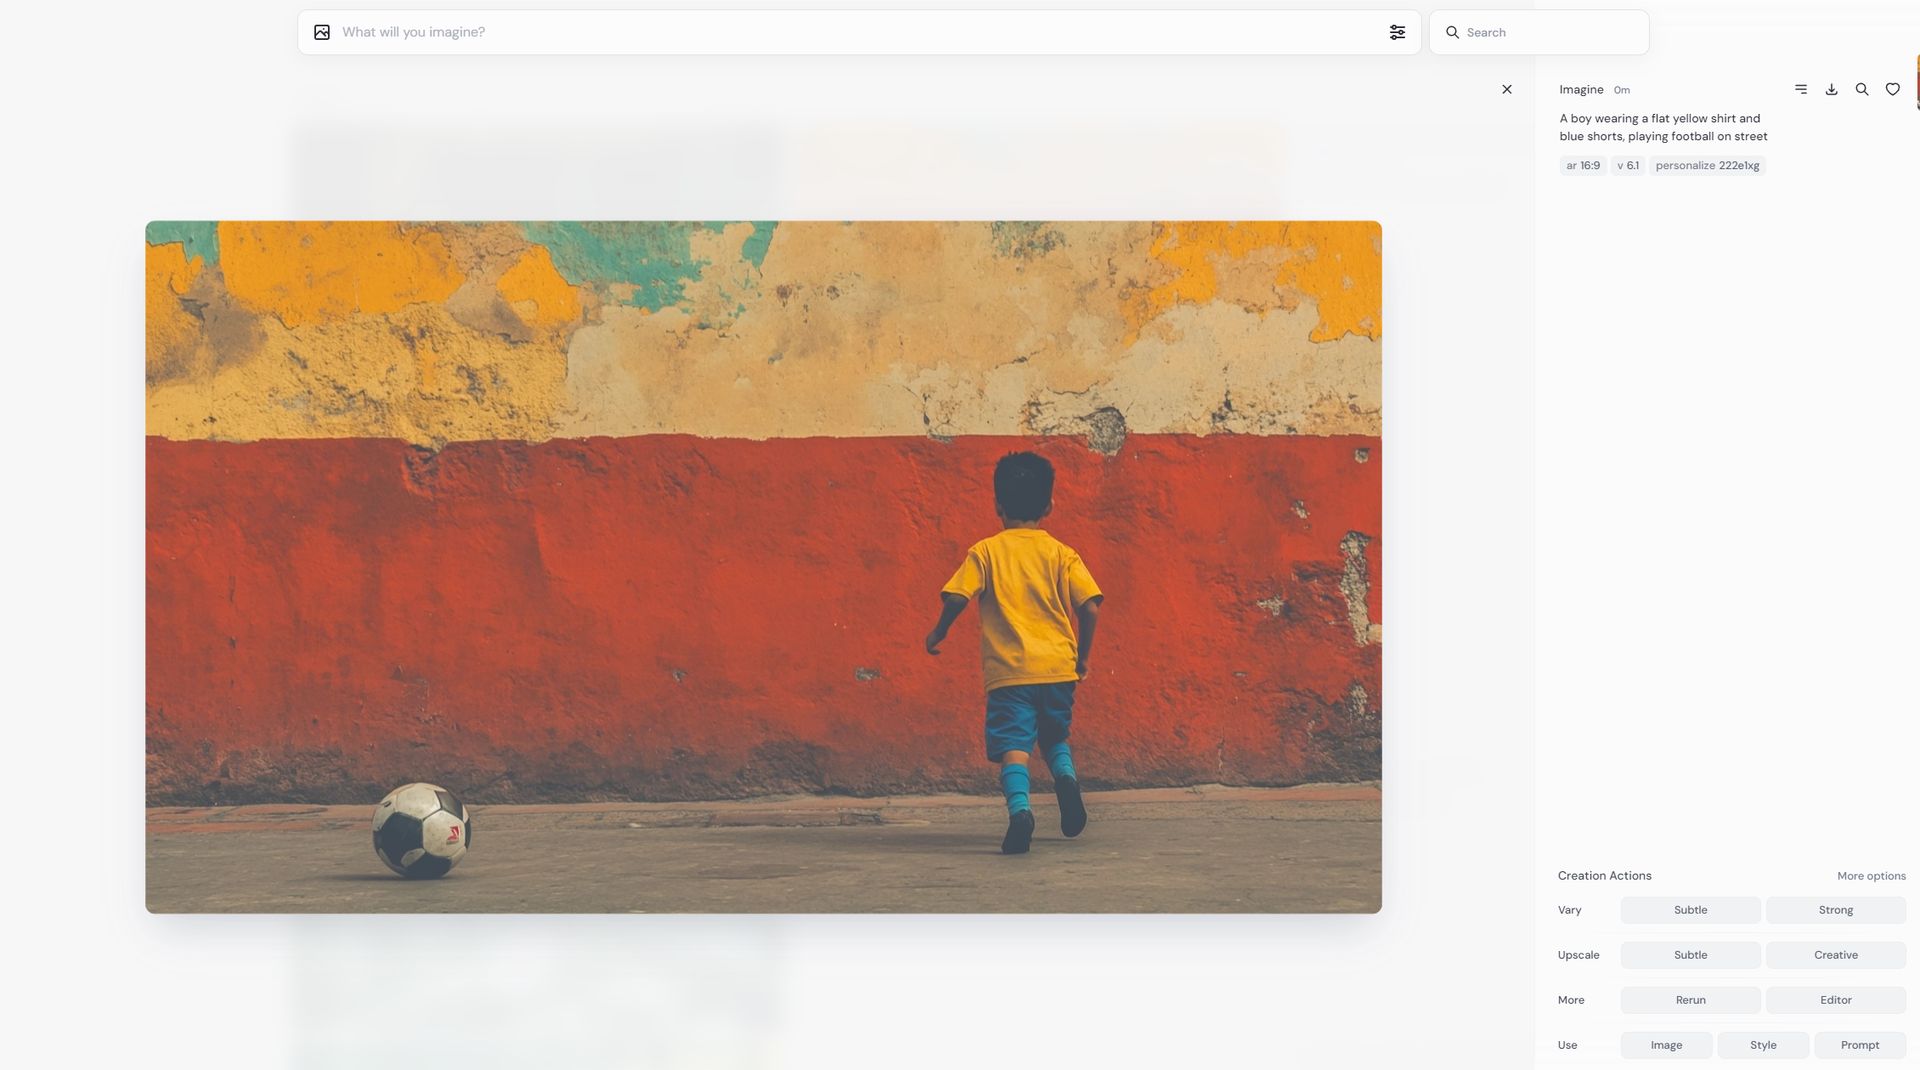
--p parameter. This parameter is used for personalization, allowing you to tailor the generated image more closely to your preferences. For a more detailed understanding of how this works and how you can leverage it effectively, check out our guide explaining Midjourney’s model personalization feature.- After the images are generated, choose the one you wish to edit by selecting it.
- Then, on the right-hand side menu, find the “More” section and click on “Editor” to open the Midjourney web editor.
- Once inside the editor, select the specific area of the image that you want to modify. Adjust your prompt as needed to reflect the changes you want to make; for instance, you might modify the prompt to: “A boy wearing a flat yellow shirt and blue shorts, wearing a party hat, playing football on the street –p –v 6.1” for a customized edit.
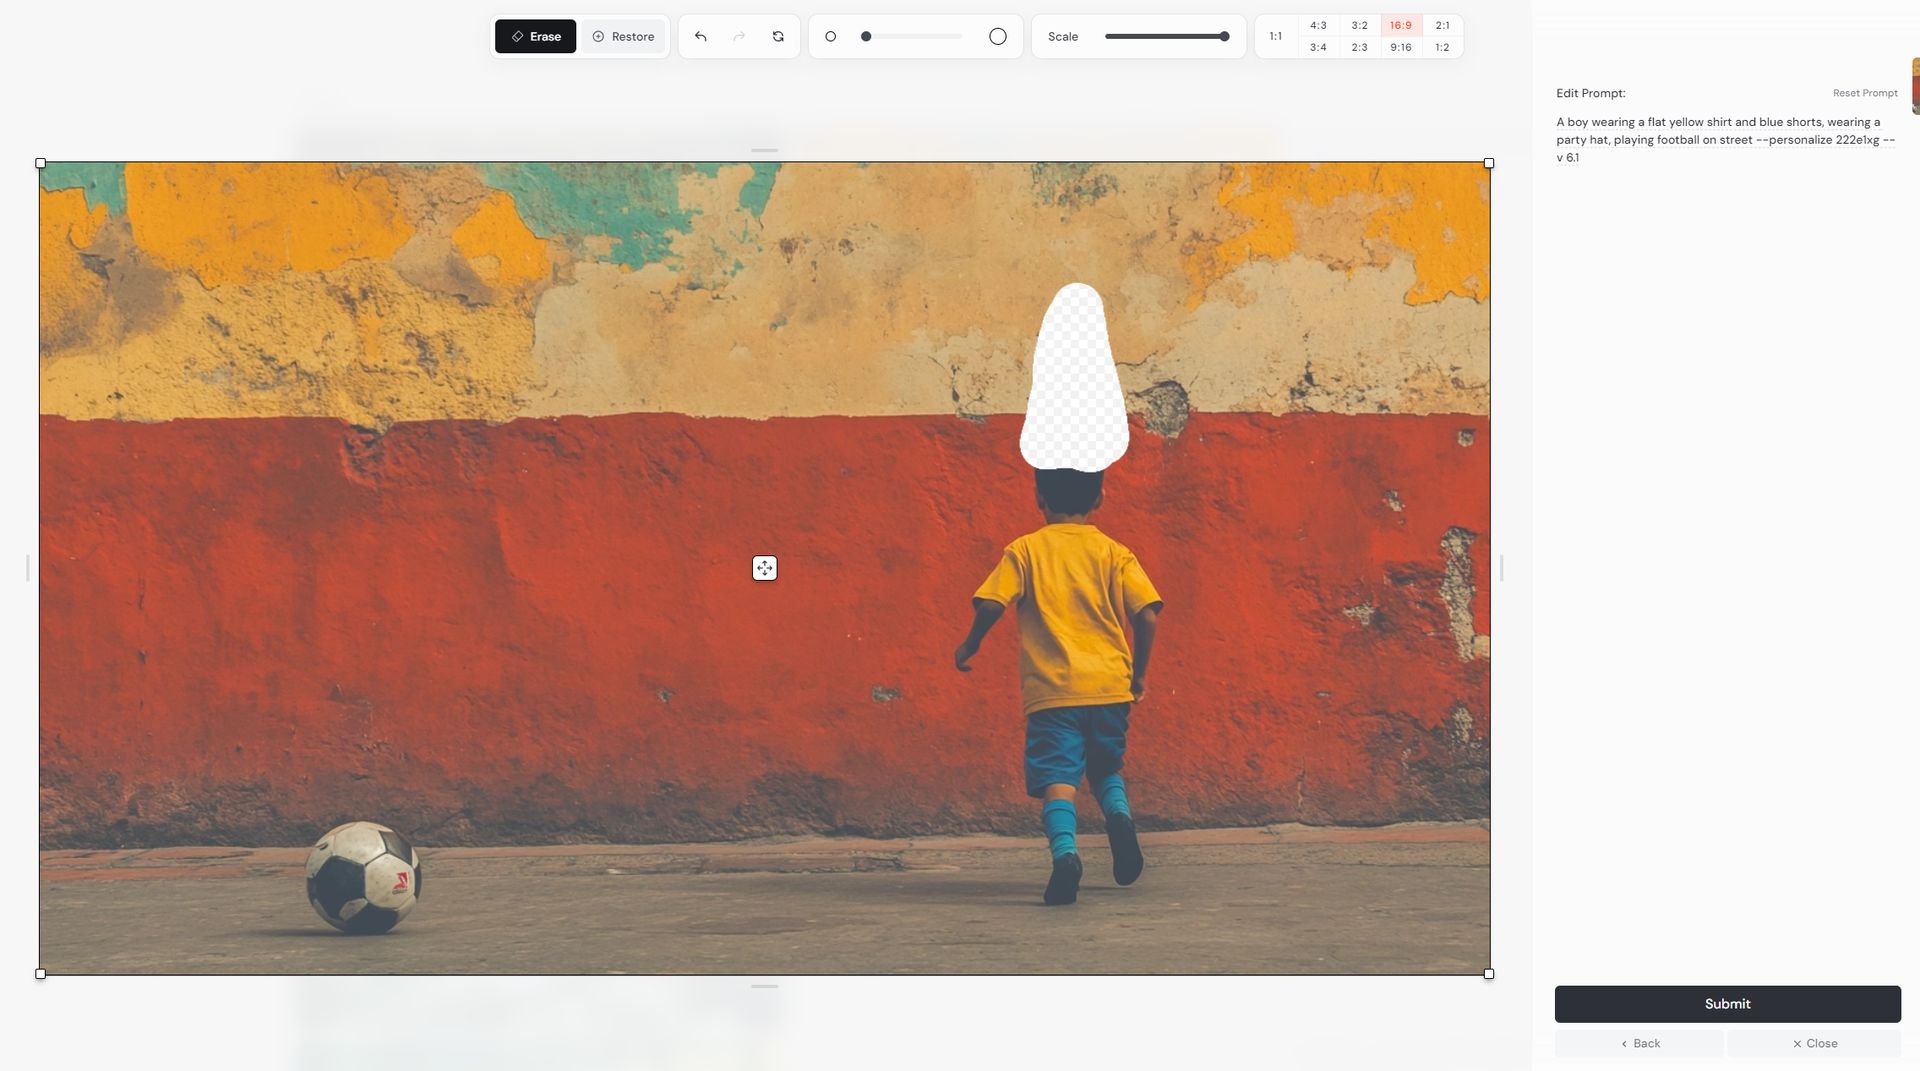
- After submitting the new prompt, the Midjourney web editor will process your request and generate an updated version of the image.
- Review the edited image to ensure it meets your expectations, and then save the final version to your desired location.
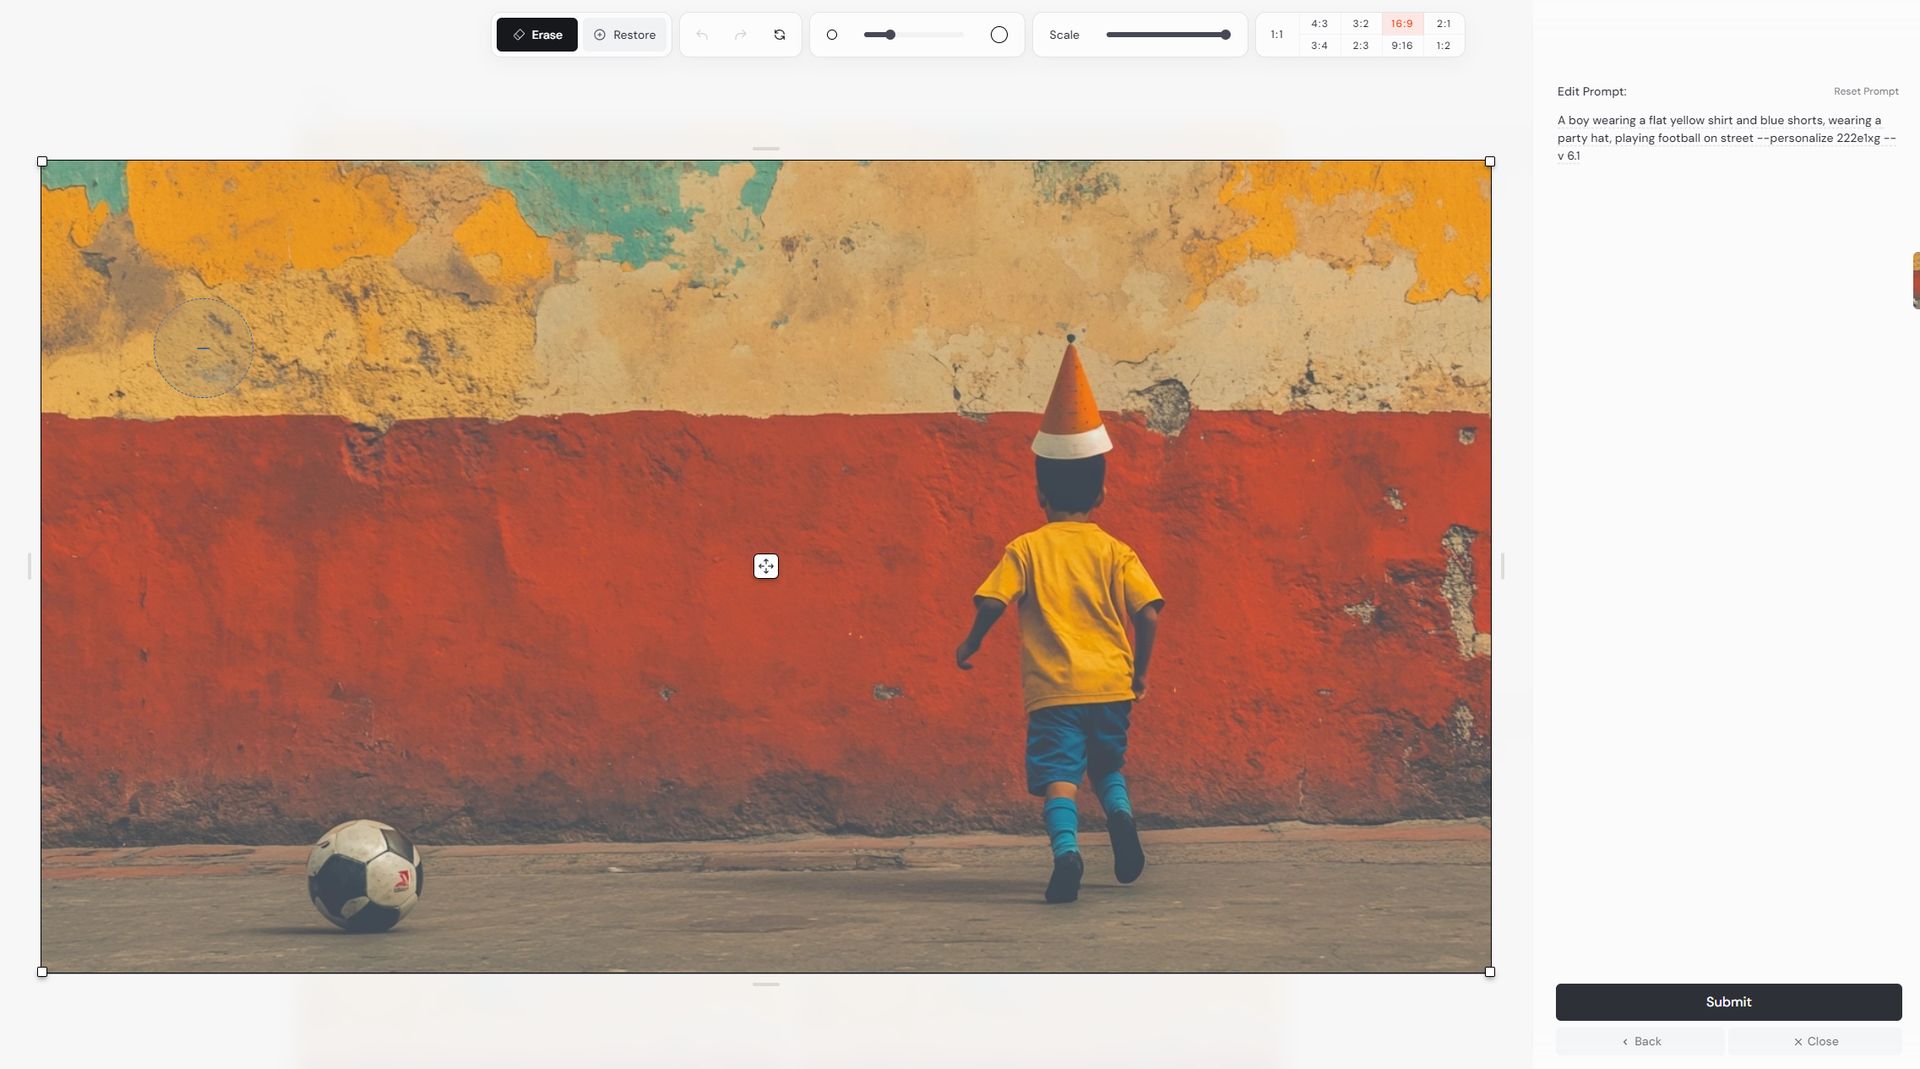
- By following these steps, you can efficiently use the Midjourney web editor to edit images to your liking.
Featured image credit: Kerem Gülen/Midjourney


